Last Updated on June 15, 2023 by Bestusefultips
Do you want to record your screen on Android 13, Android 12, and Android 11 without third-party apps? Here’s how to screen record on Android phones and tablets. Google added a native screen recording feature to Android stock devices. If you don’t find it in the quick settings tiles, you need to add a screen recorder option in the quick settings tiles. This Android screen recorder allows you to select the type of recording you want from device audio, Microphone, or device audio & microphone. Also, enable show touches on screen when you touch your screen while recording a video. You can find recorded videos in your phone gallery.
You can use third-party screen recording tools or apps to record your screen. Also, change video quality, screen resolution, frame rate, orientation, audio source, recording screenshot, show touches, etc.
Read More: How to Use Google Recorder App on Pixels
How to Record Your Screen on Android 13, Android 12, and Android 11
Follow the below-given steps to screen record on Android stock OS devices.
How to Screen Record on Android 13 without Third-Party App
Step 1: Pull down from the notification shade at the top to view quick settings tiles.
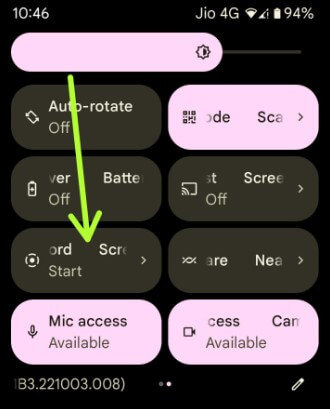
Step 2: Swipe left the quick settings menu and tap on Screen recording.

Step 3: Tap on Record audio.
Step 4: Choose how to record the screen from Device audio/Microphone/Device audio and microphone.
Step 5: If you want to show touches when recording a video, make sure to enable show touches on the screen.

Step 6: Tap on Start to start recording a video on your latest Android devices.
How to Stop Screen Recording Android
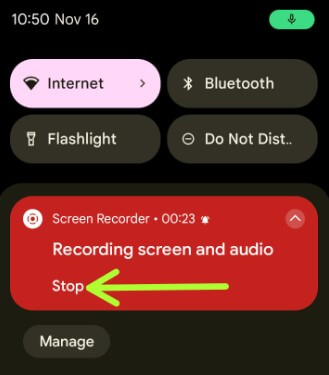
To stop recording, swipe down the notification panel at the top and tap on Stop.
Read Also: How to Fix Google Pixel Black Screen Issues
How to Add Screen Recorder to Quick Settings Tiles on Android
![]()
Step 1: Pull down the notification panel & tap the Pencil icon.
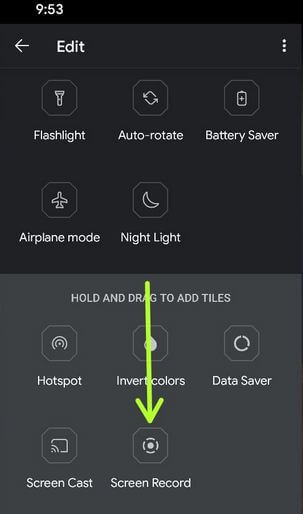
Step 2: Tap & hold the Screen record and drag it to the top panel.
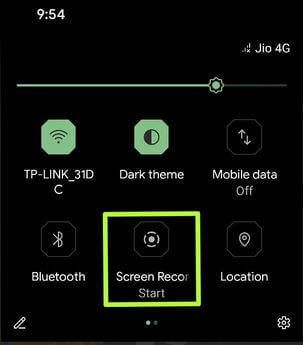
Step 3: Swipe down the notification panel again and tap on the Screen record.
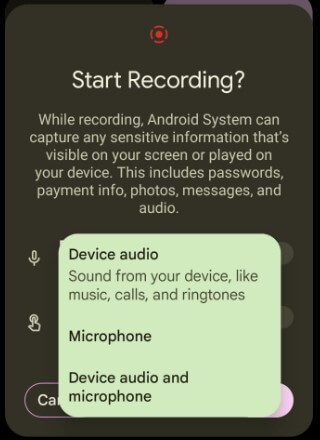
Step 4: This pop-up message view: Start Recording? (Show below given screenshot).
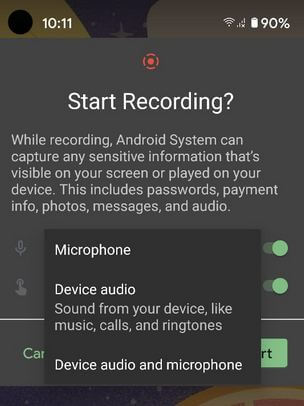
You can choose to record audio from a Microphone, Device audio (Phone sound including calls, music, and ringtone), or Device audio and microphone. Also, enable show touches on the screen when making a video recording.
Note: It can record all sensitive details on your screen, like passwords, payment info, messages, photos, and audio.
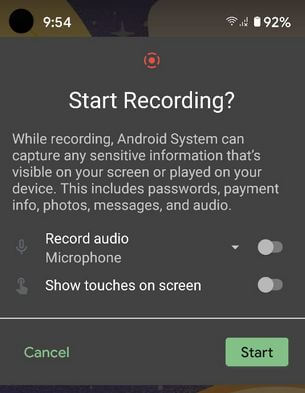
Step 5: Tap on Start.
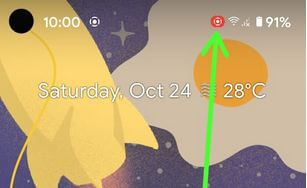
Step 6: You can see the Recording icon at the status bar. Swipe down the notification panel to view the screen recorder.
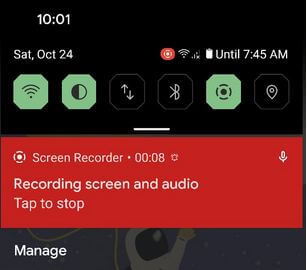
Step 7: Swipe down the notification panel and tap on it to stop screen recording.
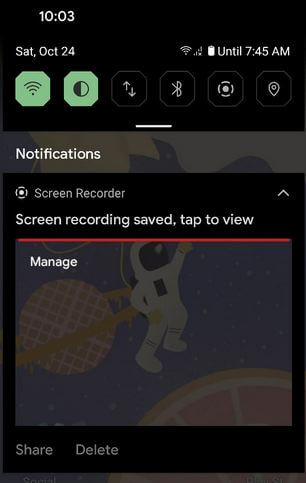
Step 8: Swipe down the notification panel to View, Share, or Delete the screen recording.
You can also find a recorded video in your phone gallery.
Read More: How to Screen Record on Chromebook
How to Record Screen on Android Phone Using AZ Screen Recorder
You can download and install third-party apps (AZ screen recorder, DU recorder, etc.) from the play store on your Android or Samsung Galaxy devices and record your phone’s screen.
Step 1: Download and install the third-party recorder app on your Android OS.
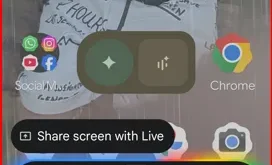
Step 2: Tap on the Recorder app (AZ Screen Recorder).
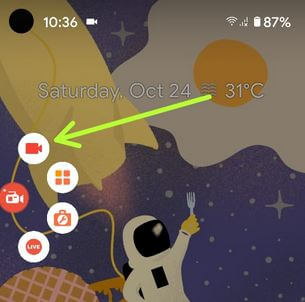
Step 3: Tap the Start icon (Shown above screenshot).
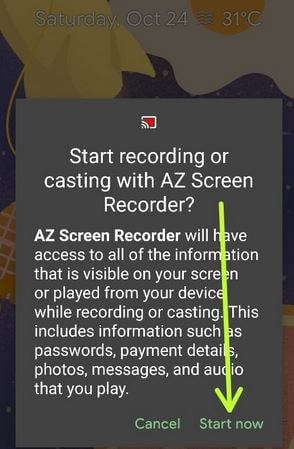
Step 4: Tap on Start Now.
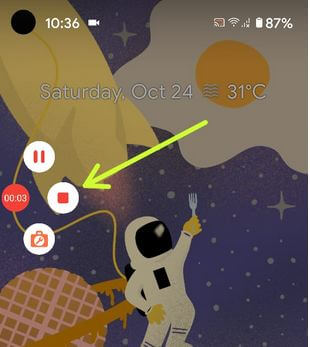
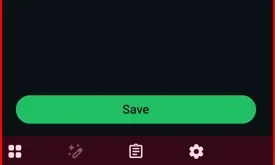
Step 5: To stop the recording, tap on the Stop icon.
You can share, trim, and delete recorded videos directly.
And that’s all. We hope this makes it clear how to screen record on Android devices. Do you still have any questions regarding the above tutorial? Tell us in below comment box.
Read Also: